Section 15 - Backup / Restore Microsoft Exchange Server
This section describes in details how to backup and restore Microsoft Exchange Server with OBM.
15.10.4 How to backup Microsoft Exchange Server 2013 (DAG)
Refer to follow the instructions to backup Microsoft Exchange Server 2013 (DAG):
- OBM version 6.11.0.0 or above is installed on all Exchange node with Mailbox role.
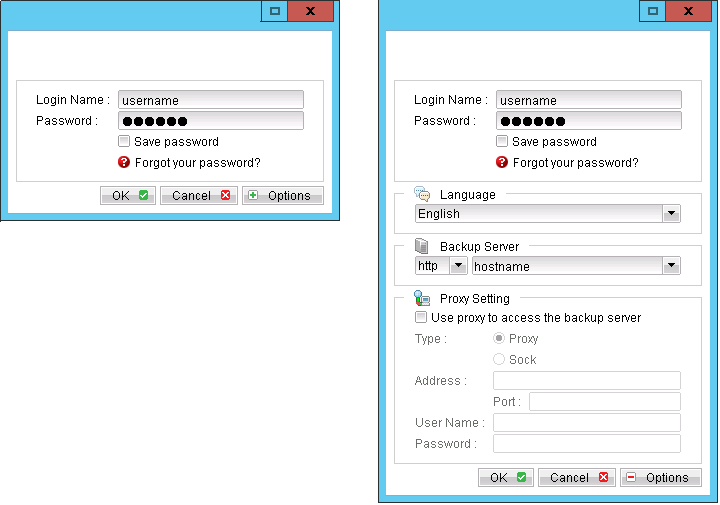
- Login to the backup application's user interface.
- Select the [Backup Settings] button and the
 button to start the New Backup Set Wizard.
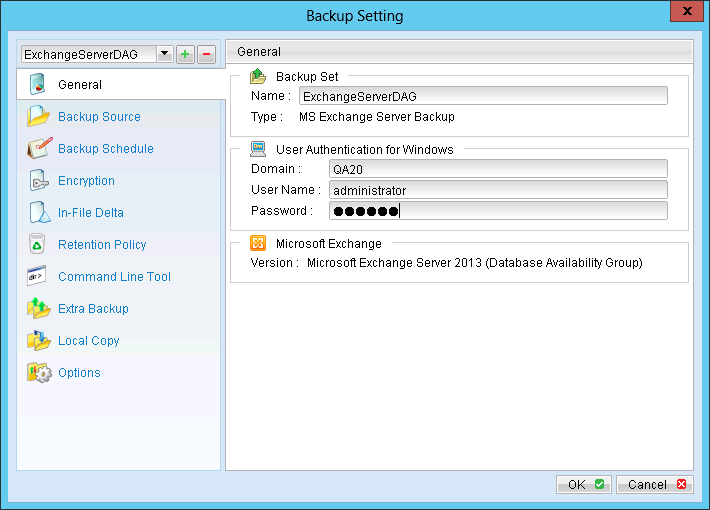
- Enter the name of the backup set.
- Create a MS Exchange Server Backup set by selecting [MS Exchange Server Backup] from the backup set type dropdown menu.

- Select the Microsoft Exchange Server 2013 Database Availability Group from the Microsoft Exchange Version dropdown menu.

- Select [Next] to proceed.
- In the backup source selection screen, select the Information Store for backup.

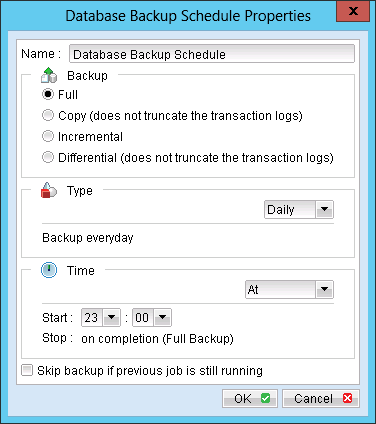
- Configure a backup schedule (required).
| Menu Items | Description |
| Name | Enter a backup schedule name of your choice. |
| Backup | Select backup type [Full / Copy / Incremental / Differential].
|
| Type | Select backup schedule type [Daily / Weekly / Monthly / Custom]. |
| Time | Select backup schedule time type [At / Periodically].
Note:
Select backup schedule time at to perform backup at a certain time, or select backup schedule time periodically to perform backup every X minutes / hours.
All the Exchange server within the same DAG group will be base on this universal time to backup at the same time. |
| Skip backup if previous job is still running | Select whether to stop the backup job from running if a previous backup job is still running. |
Further details on Backup Type:
| Backup Type | Description |
| Full | Backup the databases, transaction logs, checkpoint files and then truncates the transaction logs. |
| Copy | Backup the databases, transaction logs, checkpoint files but does not truncate the transaction logs. |
| Incremental | Backup the transaction logs to record changes since the last full or incremental backup and then truncates the transaction logs. |
| Differential | Backup the transaction logs to record changes since the last full or incremental backup and does not truncate the transaction logs. |
- Select an encryption setting for your backup set.
- Press the [OK] button to complete the configuration of the [New Backup Size Wizard].
- Fill in the domain administrator username and password in the [User Authentication for Windows].
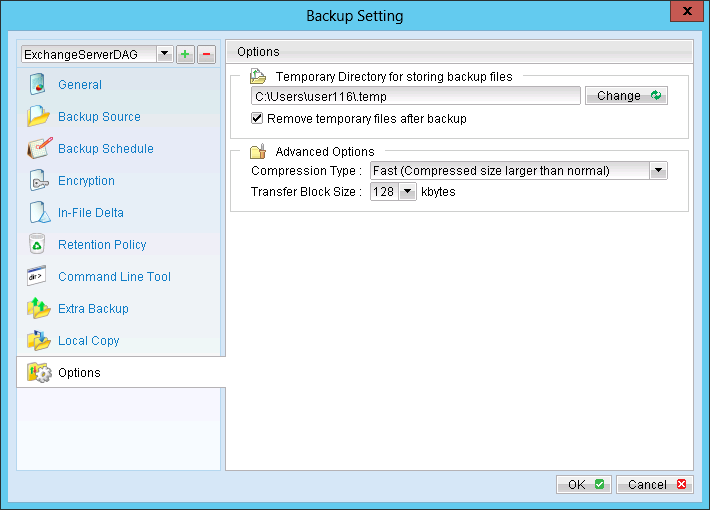
- Configure the temporary backup folder, select [Backup Setting], [Options].
Note:
The temporary directory can be set to a local or network path.
- Scheduled backup will run automatically at the configured schedule time.
- Click [Save Setting] button on the OBM main screen to save the settings.
- On the next Exchange Server within the same DAG, open the OBM and click on the same backup set.
- Make sure you have checked the checkbox of the "Run scheduled backup on this computer".
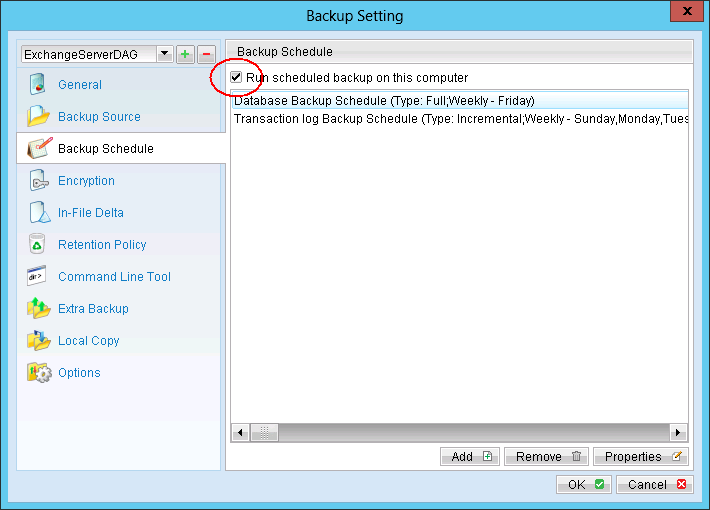
All the computers with in the DAG are required to click on this settings.
- Modify the temporary directory settings for that was listed in step 13.
- Click the [Save Setting] button on the OBM main screen.
- Repeat step 16 until all the Exchange Servers within the same DAG have been configured to run the schedule backup.
Important:
For domain controller with Active Directory installed, a System State backup must be performed regularly with the MS Exchange server backup.
Note:
Since 6.11.0.0, OBS/OBM supports multiple computers to backup on the same Exchange Sever DAG backup set.